Meade DSX Series Instruction Manual
Browse online or download Instruction Manual for Telescopes Meade DSX Series. Meade DSX Series Instruction manual User Manual
- Page / 48
- Table of contents
- BOOKMARKS
- Instruction Manual 1
- Meade Instruments Corporation 1
- CONTENTS 3
- QUICK-START GUIDE 4
- TELESCOPE FEATURES 7
- AUTOSTAR FEATURES 9
- DSX TIPS 10
- Join an Astronomy Club 10
- Attend a Star Party 10
- GETTING STARTED 11
- The Viewfinder 12
- Choosing an Eyepiece 13
- Too Much Power? 14
- OBSERVING 15
- Slew Speeds 16
- Observe the Moon 16
- Astronomical Observing 16
- Initializing Autostar 17
- Easy (Two-Star) Align 18
- Which One’s the 19
- Alignment Star? 19
- Two-Star Alt/Az Alignment 20
- One-Star Alt/Az Alignment 20
- Go To Saturn 20
- Take a Guided Tour 20
- BASIC AUTOSTAR OPERATION 21
- Entering data into Autostar 22
- Navigating Autostar 22
- MENUS AND MENU OPTIONS 23
- Event Menu 24
- Glossary Menu 25
- Utilities Menu 25
- Observing Considerations 25
- Setup Menu 26
- Surf the Web 27
- Table 1: Time Zone Shift 28
- ADVANCED AUTOSTAR FEATURES 30
- Landmarks 34
- Identify 35
- Look into the Future 36
- OPTIONAL ACCESSORIES 37
- CARING FOR YOUR TELESCOPE 38
- SPECIFICATIONS 39
- APPENDIX A 40
- APPENDIX B 41
- APPENDIX C 42
- APPENDIX D 43
- BASIC ASTRONOMY 44
Summary of Contents
Instruction ManualDSX Series Altazimuth Maksutov-Cassegrain TelescopesMeade Instruments Corporation
10DEFINITION:Throughout this manu-al, you will notice theterm "Alt/Az." Alt/Az isfrequently used to referto Altitude (vertical)and Azimuth (
11Packing ListGetting the telescope ready for first observations requires only a few minutes. When first opening the packing box, note carefully the p
12Remove the battery holder (2, Fig. 9) from the compartment and carefully lift the 9v connector (3, Fig. 9) out from the compartment. Take care not t
13DSX-90 Viewfinder1. Remove the viewfinder by slightlyunthreading the four alignmentscrews (4 and 6, Fig. 12) and slipping it out of the bracket.2. L
Your telescope comes supplied with a low-powered 26mm eyepiece which gives a wide, comfortable field of view with high image resolution.Low power eyep
15OBSERVINGObserving by Moving the Telescope ManuallyIf you wish to observe a distant land object, such as a mountain top or a bird, you can observeby
16Slew SpeedsAutostar has nine slew speeds that are directly proportional to the sidereal rate (see TO TRACKAN OBJECT AUTOMATICALLY below for a defini
DEFINITION:Initialization is a procedure that ensuresthat Autostar operates correctly. When you firstuse Autostar, it doesn'tyet know where theob
1810. Select City - The next screen asks for the city (listed alphabetically) closest to the observing site. Use the Scroll keys to cycle through the
19How to Easy Align Your TelescopeIf you have just applied power to Autostar, perform steps 1 through 5. If you have already performed the initializat
20Two other methods of alignment are available to the observer: Two-Star and One-Star. Thesemethods are included in case the observer prefers to pick
21It is important to understand that menu selections are set in a loop (Fig. 20).This means thatpressing the Scroll Down key (7, Fig. 2) cycles down t
22To Calculate Sunset time:1. Press the MODE key several times, until “Select Item: Object” is displayed. 2. Press the Scroll Down key once to displ
23MENUS AND MENU OPTIONSObject MenuAlmost all observing with Autostar is performed using the Object menu category. (NOTE:Exceptions include Guided Tou
24Landmarks stores the location of terrestrial points of interest in the permanent Autostar database. IMPORTANT NOTE: To use the Landmark function, th
25Min. (Minimum) of Algol is the minimum brightness of the dramatic eclipsing binary star system, Algol. It is relatively close at a distance of 100 l
26 Set: Enter the time of day for the alarm to sound, in hours, minutes, and seconds, then pressENTER. Start/Stop: Activates the alarm set previousl
27Time changes the time entered into Autostar. Setting the correct time is critical for Autostar toproperly calculate locations and events. Time may b
28 Tracking Rate: Changes the speed at which the telescope tracks targets in the sky. a. Sidereal: The default setting for Autostar; sidereal rate is
29 Software: Sends only the basic Autostar software. This is useful if one user has downloaded a new version of Autostar software from the Meade webs
Quick-Start Guide ... 4Telescope Features ...
30ADVANCED AUTOSTAR FEATURESBefore trying out the examples in this section, familiarize yourself with the basic operations ofAutostar described earlie
31How to Create Your Own Guided TourWhen a Guided Tour is selected, Autostar slews your telescope to a predetermined list of objectsand displays infor
32Writing a TourUsing the list of commands listed above, a custom tour can be created. Placing the word AUTOSELECT before any of the command lines act
33COMET "name"Enter COMET and then the name of the desired comet in quotes. Autostar displays informationabout the comet from its database.
34students would have to manually slew to the last two objects. He would then place AUTO SLEWON before his first required object and AUTO SLEW OFF aft
353. Use the Scroll keys to scroll through the list of objects you have previously entered. Whenthe desired object displays, press ENTER to select th
36BrowseThis menu allows you to search the database for objects with certain parameters, much likea search engine. "Edit Parameters" lets yo
37OPTIONAL ACCESSORIESA wide assortment of professional Meade accessories are available for the for DSX telescopes.Meade accessories greatly extend ma
38CARING FOR YOUR TELESCOPEYour DSX telescope is a precision optical instrument designed to yield a lifetime of rewardingobservations. Given the care
39SPECIFICATIONSDSX-90ATOptical design . . . . . . . . . . . . . . . . . . . Maksutov-CassegrainDiameter . . . . . . . . . . . . . . . . . . . . . . .
4QUICK-START GUIDE1. Open the tripod: Remove the tripod from the giftbox and stand vertically. Gently pull the legsapart to a fully open position. Tur
40Celestial CoordinatesIt is helpful to understand how to locate celestialobjects as they move across the sky. A celestial coordinate system was creat
APPENDIX B 41Using Autostar to Find Objects Not in the DatabaseAlthough Autostar contains a database of more than 30,000 celestial objects (stars, neb
42Observing SatellitesIn this procedure, you will prepare your telescope to observe a satellite pass.1. Go to the "Object: Satellite" menu
43 DS-2000 TIPS Fig. 27: Training the Drive Procedure.APPENDIX DDSX TIPSThis manual gives only the briefest introduction to astronomy. If you are in
44In the early 17th century Italian Scientist Galileo, using a telescope smaller than your DSXmodel, turned it skyward instead of looking at the dista
45PlanetsPlanets change positions in the sky as they orbit around the Sun. To locate the planets on agiven day or month, consult a monthly astronomy m
14-7190-00 07/03ADVANCED PRODUCTS DIVISIONMeade Instruments CorporationWorld’s Leading Manufacturer of Astronomical Telescopes for the Serious Amateu
5IH9. Sight along the tube: Sight along the side of thetelescope's main tube to locate an object. Practiceusing the Autostar Arrow keys to center
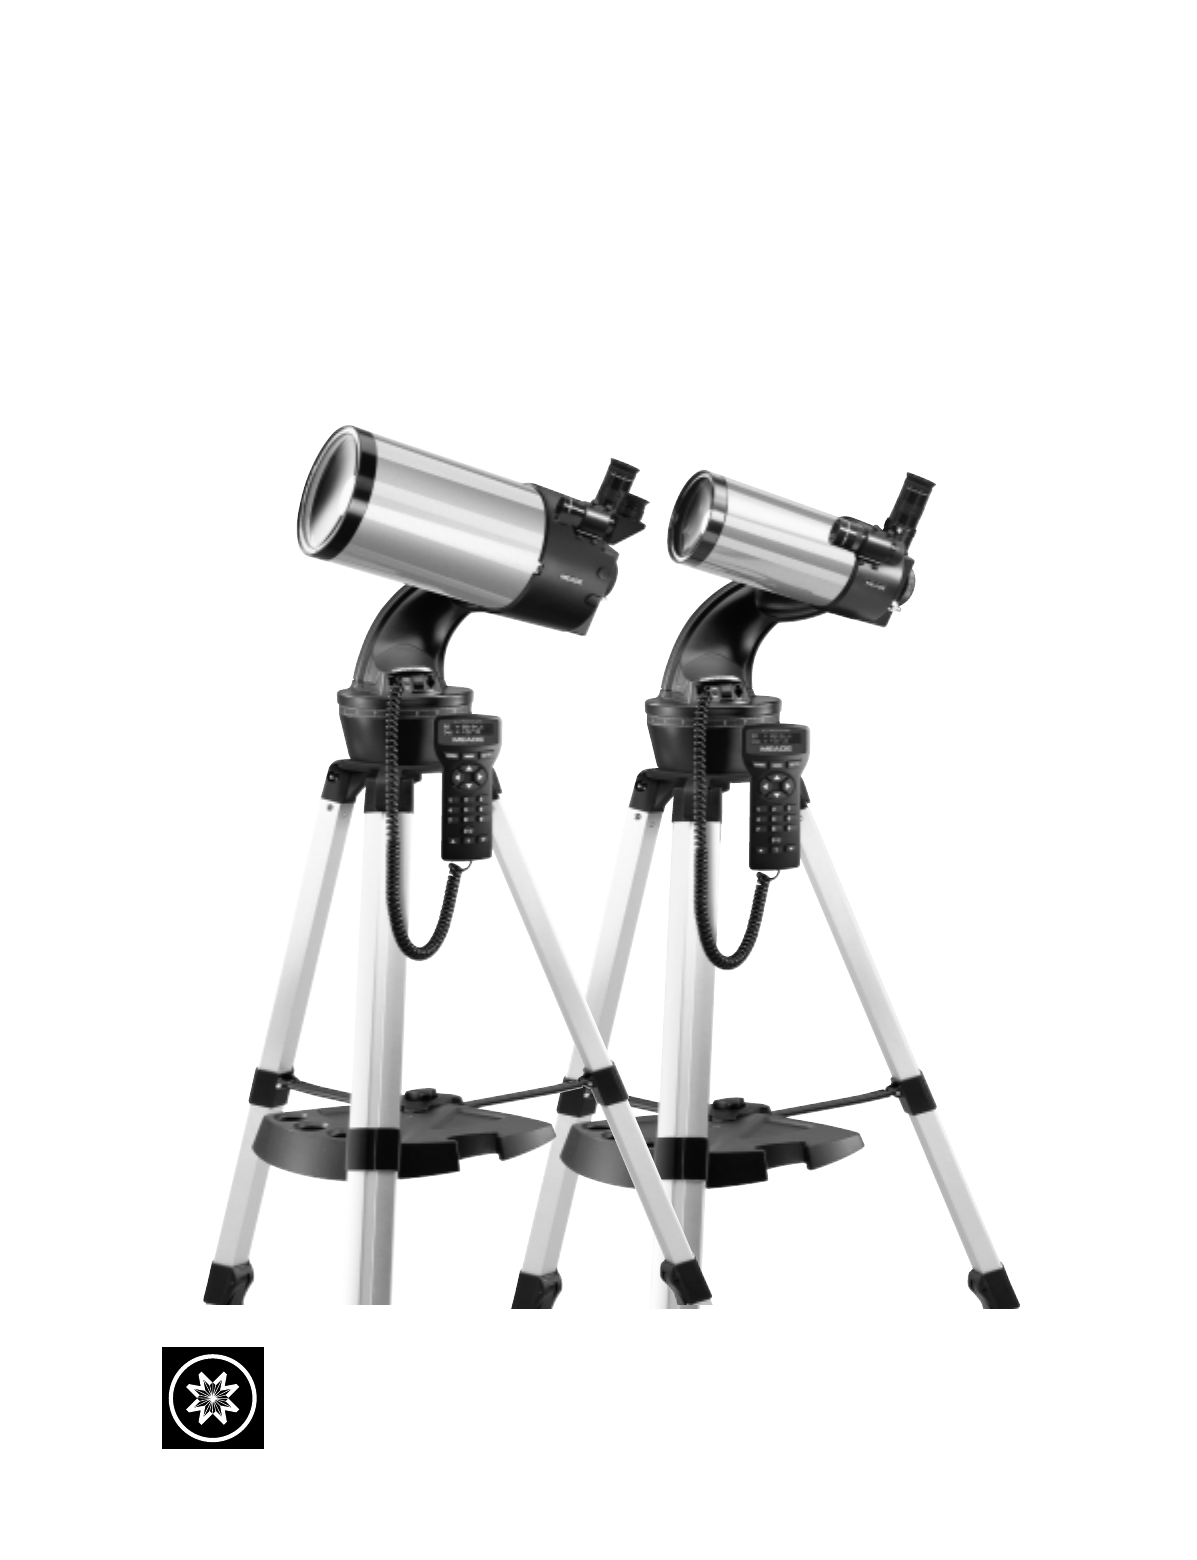
69111016201315722Fig. 1a: DSX Series Telescope.Fig. 1c (Inset): Computer Control Panel. (A)Handbox port; (B) Power indicator light, (C)ON switch; (D)
7An important array of features and manual controls facilitates operation of a DSX telescope. Besure to become acquainted with all of these controls b
81* Azimuth Setting Circle: Displays Azimuth (horizontal) coordinates.1( Tripod Legs: Spread the legs out as far as they will open for a secure viewin
9Tour the Cosmos with Just the Push of a ButtonControl your DSX system with the standard-equipment Autostar. Nearly all functions of the telescope are
Related products and manuals for Telescopes Meade DSX Series
 (16 pages)
(76 pages)
(60 pages)
(44 pages)
(60 pages)
(40 pages)
(38 pages)
(20 pages)
(18 pages)
(12 pages)
(64 pages)
(16 pages)
(76 pages)
(60 pages)
(44 pages)
(60 pages)
(40 pages)
(38 pages)
(20 pages)
(18 pages)
(12 pages)
(64 pages)
© 2020, manymanuals.com. All rights reserved. | 0.101 s |
 Manymanuals.com
 Manymanuals.de
 Manymanuals.fr
 Manymanuals.it
 Manymanuals.pl
 Manymanuals.cz
 Manymanuals.es
 Manymanuals-pt.com
Comments to this Manuals