Meade SN-10 AT Instruction Manual
Browse online or download Instruction Manual for Telescopes Meade SN-10 AT. Meade SN-10 AT Instruction manual [en] User Manual
- Page / 18
- Table of contents
- BOOKMARKS
- OPTIMIZING YOUR LXD55 1
- Polar Home Position 2
- Axis Alignment Procedure 3
- First Light ! 3
- Polar Alignment 4
- When You Are Finished 4
- Storage 4
- AutoStar Hints & Tips 4
- Set-Up & Alignment Issues 6
- Courtesy of: Dick Seymour 7
- Courtesy of: CS - Otto 7
- Courtesy of: Jason Carden 7
- Courtesy of: Mickey Smith 8
- Courtesy of: Randy Rourke 8
- Mount & Tripod Hints 9
- More Information 11
- INITIAL INSPECTION CHECKLIST 12
- AutoStar 497 Controller 13
- Spreader Tray 13
- LXD55 GEM Head 13
- PARTS GUIDE & CHECKLIST 15
- Who is OPT? 16
- Meade SN6 / SN8 / SN10 17
- Alignment Arrows 18
Summary of Contents
OPTIMIZING YOUR LXD55SN REFLECTOR & AR REFRACTORTIPS & TRICKS VOLUME 1GETTING STARTEDThe new Meade LXD55 SN and AR series of telescopes repres
REMOVING RA MOTOR ASSEMBLY: To remove the RA motor andelectronics assembly from the mount, you must remove asingle cap screw from the bottom of the m
(overhead advances two RA hours every month, for thesame day number and time...approximately).WHAT IS T HE MAXIMUM V OLTAGE T O BE USED AS A POWER
INITIAL INSPECTION CHECKLISTCourtesy of: John CrillyThe parts should look something like this when the box is first opened. Check to make sure that al
Check for presence and condition of the Autostar Controlunit.___ ALL OK-OR-___ AUTOSTAR CONTROLLER DAMAGED/DEFECTIVE___ AUTOSTAR UNIT MISSINGAutoStar
Tripod AssemblyCheck for presence and condition of the tripod.___ ALL OK-OR-___ MISSING / STRIPPED SCREWS / BOLTS___ ALL ASSEMBLIES / COMPONENTS TIGHT
PARTS GUIDE & CHECKLISTCourtesy of: David (Warp) SherfyWhen you receive your new Meade LXD55 Telescope, itwill arrive in two seperate cartons. Th
Who is OPT?Hello Stargazers! Welcome to Oceanside Photo & Telescope, also known as OPT by our many fellowastronomers (we don’t just sell telescope
Primary Mirror Center Spot TemplateMeade SN6 / SN8 / SN10
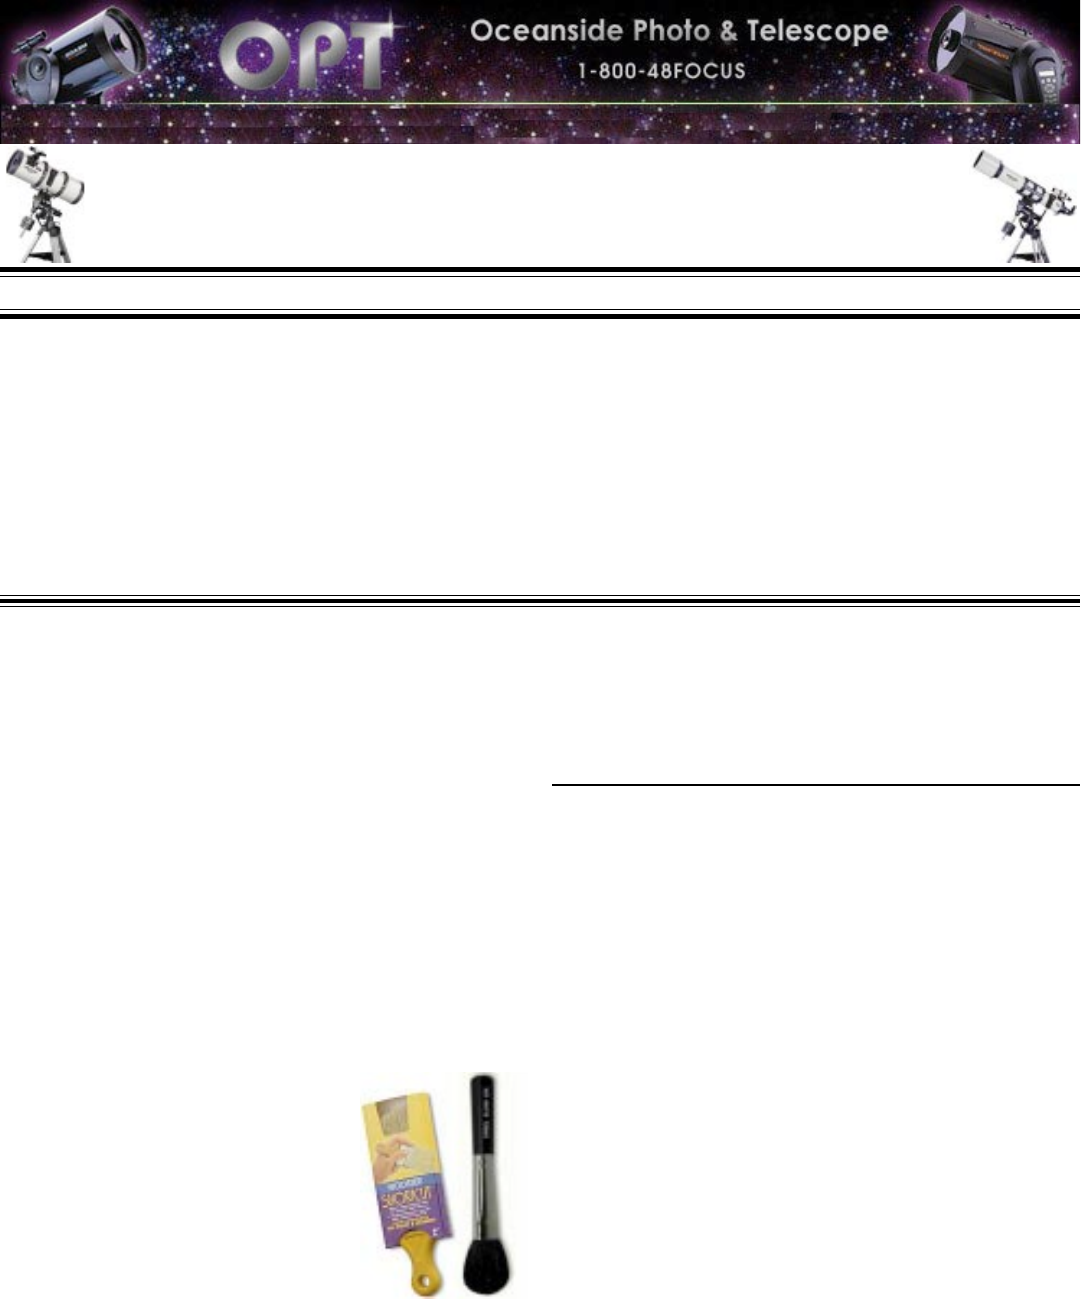
Print on a sheet of Standard UPS Shipping Labels. Available anywhere where they print their ownlabels. There are two 8.5 x 5.5 labels on a page of h
Assembling The Mount & Tripod ... (con’t)(the one with the star) is roughly pointing at your targetobject. Remove the Polar Scope Cover (#18), lo
Polar Home Position ... (con’t)Without moving the mount, carefully unscrew the Coun-terweight Shaft (#22) from the mount. Unlock the RALock (#33), an
Plug in the AutoStar and battery pack. Set the AutoStarparameters as described on Pages 16 and 19. Perform aCalibrate Drives from the AutoStar men
THE AUTOSTAR AND TEMPERATURE EXTREMES: All AutoStar unitsare different. Some are more prone to temperature ex-tremes than others...those that are cold
number (2.1Eh, 2.1Ei, 2.1Ek, 2.1Er for an example fromlast year).Courtesy of: Dick SeymourWHICH AUTOSTAR VERSION DO I HAVE?: The easiest way is torea
Youre combining mechanical improvement of tripod withtelling the Autostar (via SYNC) that youre changingthings. Its another approach which can yiel
the allen screws a little at a time until the cross hair stayedon the stop sign.Now put the counterweight and OTA on and look throughthe OTA eyepiece
First step is to rotate the OTA in the cradle with the fo-cuser directly opposite the counterweight shaft (Assum-ing youre using a SNT here).Next ste
Related products and manuals for Telescopes Meade SN-10 AT
 (12 pages)
(64 pages)
(72 pages)
(44 pages)
(14 pages)
(19 pages)
(64 pages)
(16 pages)
(3 pages)
(19 pages)
(12 pages)
(48 pages)
(48 pages)
(14 pages)
(12 pages)
(64 pages)
(72 pages)
(44 pages)
(14 pages)
(19 pages)
(64 pages)
(16 pages)
(3 pages)
(19 pages)
(12 pages)
(48 pages)
(48 pages)
(14 pages)
© 2020, manymanuals.com. All rights reserved. | 0.018 s |
 Manymanuals.com
 Manymanuals.de
 Manymanuals.fr
 Manymanuals.it
 Manymanuals.pl
 Manymanuals.cz
 Manymanuals.es
 Manymanuals-pt.com
Comments to this Manuals