Meade LXD55 User Manual
Browse online or download User Manual for Telescopes Meade LXD55. Tips & Tricks
- Page / 14
- Table of contents
- BOOKMARKS
- WARPSDRIVE 1
- Adjusting The Worm: 2
- Zero Clearance Modification: 4
- Progress Summary: 4
- Setup / Tool Check 5
- REMOVING THE GEARS 7
- CLEANING THE GEARS 9
- REASSEMBLE THE MOTORS 9
- Assemble The Pulleys: 10
- Notch Notch 11
- Replace These Screws 11
- DEC Motor Re-Assembly: 12
- Final AutoStar Adjustments: 13
- WarpsCorp Enhancements: 13
- HE BOTTOM LINE 14
- BEEN FLAWLESS 14
Summary of Contents
There has been much discussion regarding loose gears, setscrews, rubber-banding and inconsistencies in thetracking and go-to capabilities of some LXD5
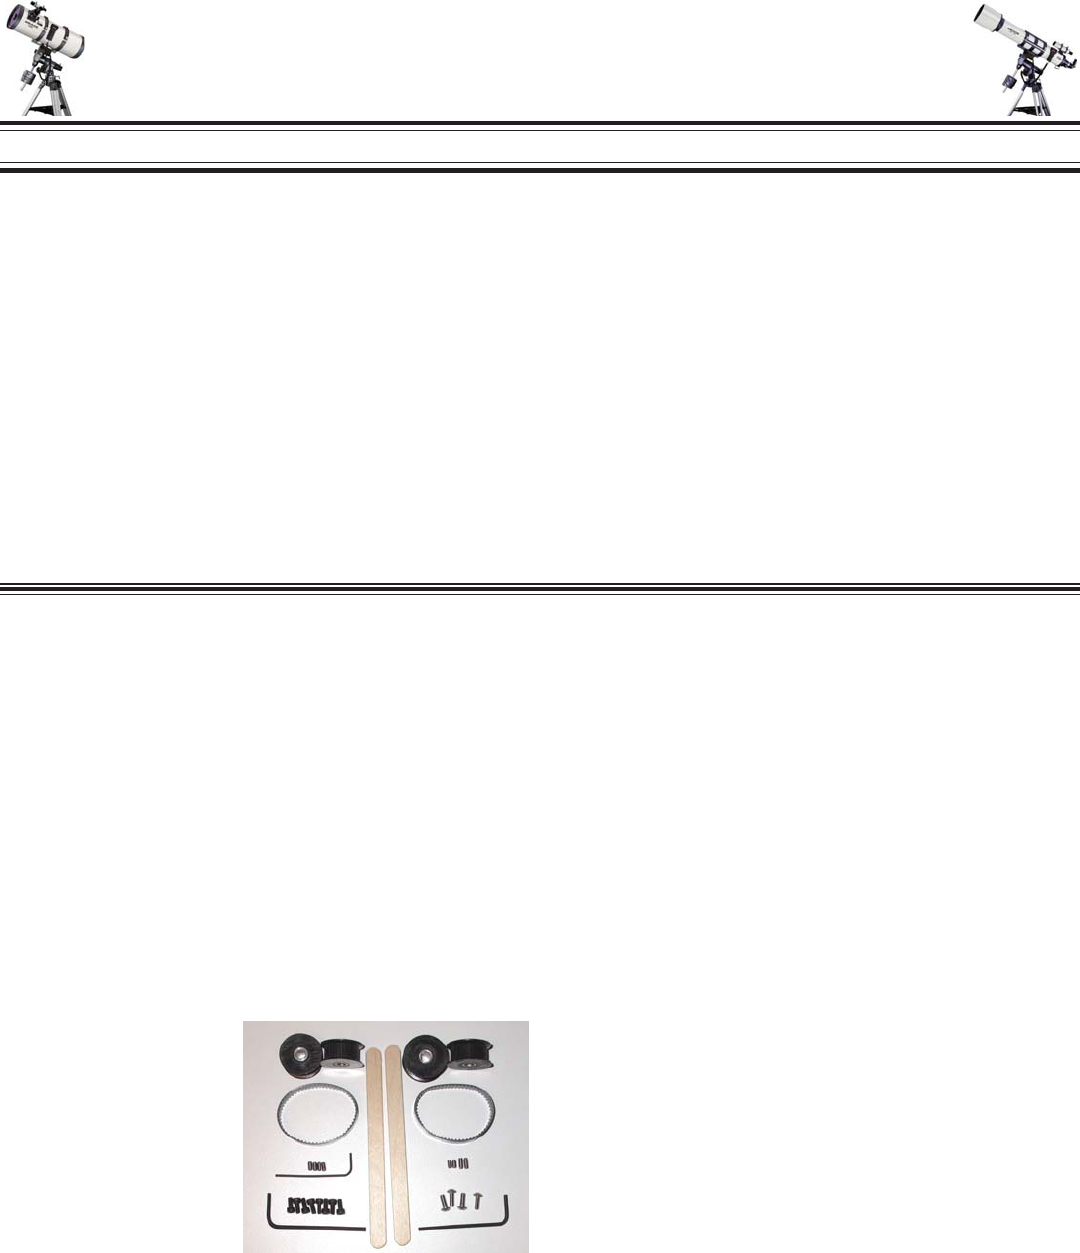
You now have installed 2 black motor pulleys each with2 new short knurled cup point stainless steel setscrews installed and 2 black worm pulleys (pict
11o Holding the motor housing inone hand against the mount,re-thread the large Allen boltyou previously loosened fromthe back of the mount to secureth
12could result in toomuch slack in the belt.At this point you canplace a shim or spacerbetween the motor andthe mount to adjust thespacing. I used a
Final AutoStar Adjustments:o Plug in the DEC motor AutoStar and power supply.o Turn on power and bypass all the alignment, dateand time functions to g
seem to work, the color purity andsaturation of the Ink Republic inksresult in the best color - nonoticable difference from thestandard Epson cartridg
2Additional Items you will need:o 3/16” Allen wrench to loosen screw holding RAmotor assembly to mount.o 5/32” Allen wrench to loosen screw holding DE
Encoder WheelExtremely FragileDissassembly Of The RA Motor Housing:This is the hardest part of the conversion, so once youget through this - you are h
4Replacing The Motor Block Screws:This next procedure will be repeated for both theDEC and RA motor assembly.o Looking at the motorblock without the g
Motor Gear Box Tune-Up:Setup / Tool Check...Tools You Will Need:o Assorted Allen Wrenches (see pictures)o Small Phillip’s Screwdrivero Wire Cutters /
6TThe plug with the red andblack wires are the wires goingto the motor and is removable.Note the orientation of the wiresand mark the pin for the redw
REMOVING THE GEARS...Once the gears are exposed,grasp the larger "keyed" motorshaft and lift it out of the hous-ing. Be careful as there is
MAIN SHAFT REMOVED. THE OTHER TWO SHAFTS DO NOTCOME OUT - THE GEARS SLIP OVER THE SHAFTS.Remove the large blackgear from the upper shaft.LARGE GEAR F
CLEANING THE GEARS...I used a white (easy to see smallwashers that drop off of theshafts and gears while cleaning)cool whip container (cause I likecoo
More documents for Telescopes Meade LXD55


Related products and manuals for Telescopes Meade LXD55
 (19 pages)
(64 pages)
(16 pages)
(3 pages)
(19 pages)
(12 pages)
(48 pages)
(48 pages)
(14 pages)
(19 pages)
(64 pages)
(16 pages)
(3 pages)
(19 pages)
(12 pages)
(48 pages)
(48 pages)
(14 pages)
 (45 pages)
(6 pages)
(60 pages)
(56 pages)
(7 pages)
(45 pages)
(6 pages)
(60 pages)
(56 pages)
(7 pages)
© 2020, manymanuals.com. All rights reserved. | 0.053 s |
 Manymanuals.com
 Manymanuals.de
 Manymanuals.fr
 Manymanuals.it
 Manymanuals.pl
 Manymanuals.cz
 Manymanuals.es
 Manymanuals-pt.com
Comments to this Manuals