Polar Home Position ... (con’t)
Without moving the mount, carefully unscrew the Coun-
terweight Shaft (#22) from the mount. Unlock the RA
Lock (#33), and rotate the head 90 degrees so the Coun-
terweight Shaft Base (#20) is pointing toward the east.
Screw the Counterweight Shaft (#22) back into the mount.
Rotate the head around the RA axis until the Shaft is hori-
zontal. Place the level on the shaft and adjust until the
bubble is centered. Lock the RA Lock (#33). Place the
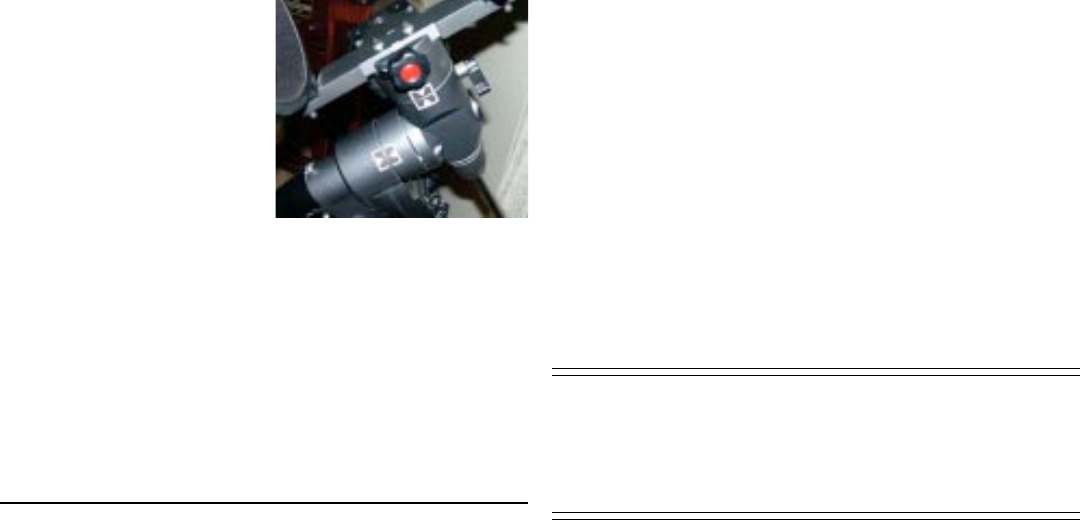
level in the Cradle Slot and tighten the Cradle Lock Knob
(Fig. 7, Page 12) to hold it firmly in place. Now rotate the
head about the DEC axis un-
til the level is horizontal - the
bubble is centered. Lock the
DEC Lock (#17). Apply an-
other set of arrows on the top
side of the DEC housing
along the DEC housing seam.
Now adjust the Latitude Ad-
justment Handles (#26)
until the pointer on the Lati-
tude Dial (#28) reads your approximate latitude, loosen
the RA and DEC Locks (#17 & #33), adjust the mount so
that the arrows line up - and you should be in Polar Home
Position with the Cradle Slot pointing due North-South
over the front North leg. Lock the RA and DEC Locks
(#17 & #33), mount the Cradle / OTA assembly and you
are ready to continue to your final alignment.
In Polar Home Position, the DEC Motor (#34) should be
on the WEST side of the mount.
Axis Alignment Procedure ...
OK, so now you are getting anxious to get out there and
use your new scope. Just a couple of more adjustments
and your mount will be ready to go.
Make sure your telescope is properly balanced as described
on Page 13. When balancing, be sure to have any of your
usual accessories mounted on the telescope - including one
of your eyepieces.
Tip: Once you have the telescope assembly balanced, wrap
a piece of masking tape around the counterweight shaft to
mark the positioning of the upper most counterweight. The
other weight(s) can be left against the bottom of the counter-
weight shaft. Also place a small piece of tape or one of the
alignment arrows on the OTA indicating the outer edge of the
cradle rings. This will let you avoid having to rebalance when
you get outside ready to view.
So far, weve been assembling and aligning the various com-
ponents of the mount. Now its time to mount the Cradle
and OTA assembly (#10, 11 & 14). Once you have it as-
sembled, turn to Page 48 (Appendix B) and perform the
Axis Alignment Procedure. You can also elect to use
Method 2 on Page 51 and allow AutoStar to assist in the
set up.
Tip: Be careful when adjusting the Cradle Adjustment Screws
(Fig. 40, Page 49). The entire OTA / Ring assembly is held to
the mount by the two center screws. Overtightening could
strip the metal and result in your OTA coming loose. Re-
member, never remove the weights with the OTA attached.
This Axis Alignment insures that your OTA is actually
pointing where AutoStar thinks it is. It matches the align-
ment of the OTA to the mechanical alignment and assem-
bly of your mount.
If you have one of the SN Reflectors, now is the time to
check the collimation of your optics as described on Pages
39 - 41. Once you are satisfied with your collimation, its
time to plug in the electrical components (batteries and
AutoStar) and go outside for your first viewing - commonly
referred to as First Light.
Tip: Remove one of the three adjustment screws from the
secondary (Fig 31b, Page 40). Take it down to your local
hardware store and get a matching threaded allen bolt about
1/2 inch longer. It will have a larger head and be much easier
to adjust. Be very careful when working in close proximity of
the Corrector Plate (#9). You might want to put some shrink-
wrap tubing over the handle portion of your allen wrenches
to give you a better grip and to “cushion” the blow should you
accidentally touch a piece of your scopes optics.
The preceding assemblies and adjustments are basically
one time - essential for initial setup, but not necessary
every time you go out. They should be checked from
time to time as they will affect the accuracy of your GoTo
operations.
First Light ! ...
At this point your scope is assembled and has had all of
the preliminary alignments and adjustments made. As-
suming you have read through the manual on AutoStar
operation, now its time to go out and view the heavens.
Tip: Here is a methodical procedure that works for moving
your scope form the house to your outdoor observation loca-
tion.. Spread a large 12’ x 12’ heavy duty painters canvas
over the ground where you are going to set up. This gives
you a nice clean surface and will help in finding any small
parts that may get dropped such as set screws, batteries,
etc. It also gives you a clean protected area to set your bat-
tery pack, eyepiece cases and other accessories. You can
find these drop cloths at any major hardware store.
Remove the OTA from the ring assembly and carry the tripod
and head assembly to your set up location. Carry out and
install the counterweights onto the counterweight shaft. Use
the indicator you put on the shaft for correct positioning.
Roughly align the North Leg (one with the star) so it is point-
ing toward Polaris. Carry out the OTA and mount it in the
cradle using the alignment arrows you applied for proper bal-
ance. Do not overtighten the Cradle Ring Lock Knobs (#13).
Tighten just enough to prevent the OTA sliding in the rings
3
 (12 pages)
 Manymanuals.com
 Manymanuals.de
 Manymanuals.fr
 Manymanuals.it
 Manymanuals.pl
 Manymanuals.cz
 Manymanuals.es
 Manymanuals-pt.com
Comments to this Manuals